_ExcerptDialListFilters
Used in Creating multiple individual Dial Lists for agents, Creating a single Dial List (first-come, first-served), Editing a Dial List If you are creating a Dial List of Campaign Member type, see the Creating a Dial List of Campaign Member type section later in this page. In the Filter By Fields section, you must define at least one filter that is used to select records. You can filter by fields on the object you're using or used to create the Dial List and on related objects. The steps here describe using fields on the object used or being used to create the Dial List. For information about using related objects in filtering Dial Lists, see the Using related object types in filtering and ordering Dial Lists section later in this page. If you want to include additional filters, click the plus (+) icon alongside one of the filters you have added. Another row of fields appears below that filter. Repeat this step for all filters you want to define. You can add up to 20 filters but best practice is to keep the number of filters to a minimum. You can reorder the filters as required using the up (↑) and down (↓) arrow icons to the left of the filters. Optional. In the Filter Logic section, you can override the filter logic used. The NOT operator is not supported. If you want to filter record detail records by date — for example, the date the records were created, birth date of customers, date of last contact with customers — you must specify the date as an exact date or using a date literal. For further information about specifying dates, see Date Formats and Date Literals in Salesforce help. Using the following example: the default filter logic returns customers whose details match all of the criteria. A filter logic of '((1 OR 2) AND 3)' returns the following customers: Customers whose last name is Jones OR whose record was last modified before 19th June 2014 Optional. In the Order By Fields section, define the order in which you want filter results to appear in the Dial List. We recommend that you do this. Defining the order determines the priority in which the records are contacted, with the first field in the list having the highest priority. You can order by fields on the object you're using or used to create the Dial List and on related objects. The steps here describe using fields on the object used or being used to create the Dial List. For information about using related objects in ordering Dial Lists, see the Using related object types in filtering and ordering Dial Lists section later in this page.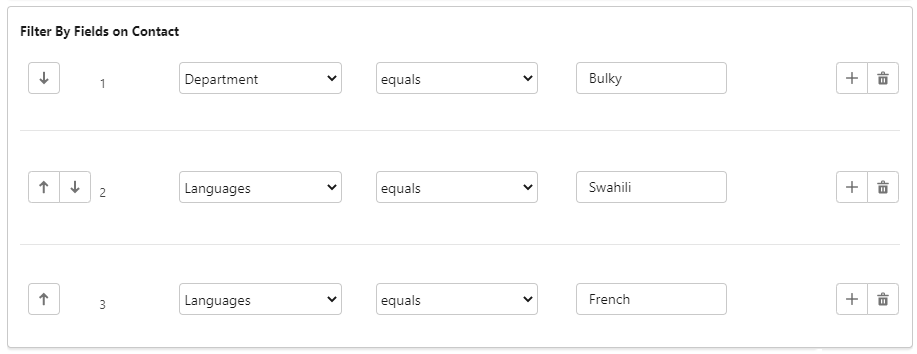

The default logic operator is AND—the filters you define in the Create New Filter section are joined. To override the default logic, refer to the filters by their numbers, for example, ((1 AND 3) OR (2 AND 5)) OR (4 AND 2).Filter 1 Last Name equals Jones Filter 2 Last Activity less than 2014-06-19 Filter 3 Department equals Sales
AND
who are in the Sales department
If you want to include additional sort options, click the plus (+) icon alongside one of the sort orders you have added. Another row of fields appears below that sort option. Repeat this step for all sort orders you want to define. You can reorder the fields as required the up (↑) and down (↓) arrow icons to the left of the fields.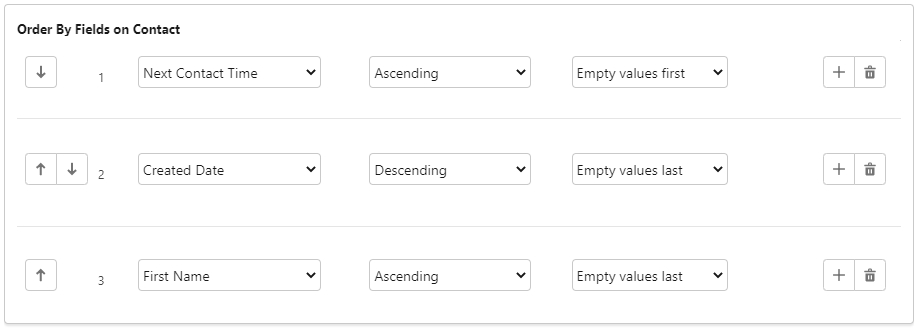
For general assistance, please contact Customer Support.
For help using this documentation, please send an email to docs_feedback@vonage.com. We're happy to hear from you. Your contribution helps everyone at Vonage! Please include the name of the page in your email.