Adding Connect to a non-console app in Salesforce Classic
When you install Connect, you have a new component in your organisation. This component enables agents to make the calls assigned to them.
If you are using a console app in Salesforce Classic, to add Connect to the console app, see Adding Connect to a console app in Salesforce Classic.
If you are using Salesforce Lightning Experience, to add Connect, see Adding Connect to Salesforce Lightning Experience apps.
To use Connect in non-console apps, you must add the component to your home page layout. Adding the component to your home page layout makes Connect available in all your non-console apps in Salesforce.
To add the component to your non-console apps, perform the following steps:
- Go to Setup in Salesforce.
- On the left side of the Salesforce window, in the Build section, expand Customize and then Home.
In the expanded list of items, click Home Page Components.
Home Page Components appears. You should see a new custom component called ContactWorld Connect. If the component is not showing, check that the correct package has been installed successfully.Back in the expanded list of items on the left side of the Salesforce window, click Home Page Layouts.
Home Page Layouts appears. You should see one or more page layouts.- Click Edit next to the layout you want to add the component to. Edit Home Layout appears.
To add the Connect component to the layout, select the ContactWorld Connect check box, and then click Next.
Edit Home Layout appears.To reorder the components, click ContactWorld Connect.
Use the arrow buttons to move the component up or down. We recommend moving the Connect component to the top of the list so that it appears directly below ContactPad.- Click Save. If you want to create different configurations for different users, you must create different home page layouts and assign them to different profiles. For more information, please see Salesforce help.
To make this component visible in all pages, on the left-hand side of the Salesforce window, in the Build section, expand Customize and then click User Interface.
User Interface appears.- Click Show Custom Sidebar Components on All Pages. Click Save.
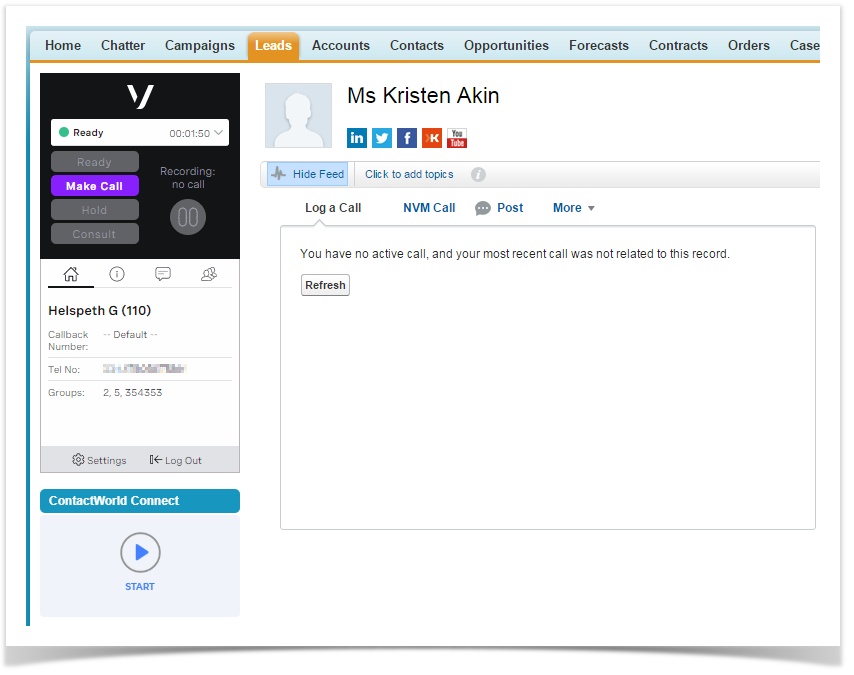
The new Connect component now appears in the left sidebar on any object page.
For general assistance, please contact Customer Support.
For help using this documentation, please send an email to docs_feedback@vonage.com. We're happy to hear from you. Your contribution helps everyone at Vonage! Please include the name of the page in your email.
