...
- Log in to the VCC Admin Portal as an admin user. For information about logging in to the VCC Admin Portal, see Logging in to the Vonage Contact Center Admin Portal.
- Go to Data Retention (within Account Settings). Data Retention appears.
Change the retention period in Automatically delete content older than. Type the number of days you want Vonage to store your data for, up to the contracted number.
Note You cannot exceed the contracted period. Contact your VCC account manager to purchase an extension to your contracted retention period. Info title Screen recordings Insert excerpt _ExcerptScreenRecordingRetention _ExcerptScreenRecordingRetention nopanel true Info title Visual Engagement meeting recordings Insert excerpt _ExcerptMeetingRecordingRetention _ExcerptMeetingRecordingRetention nopanel true Select the check box to confirm you have read and understood the service description and the impact of the changes you are about to apply.
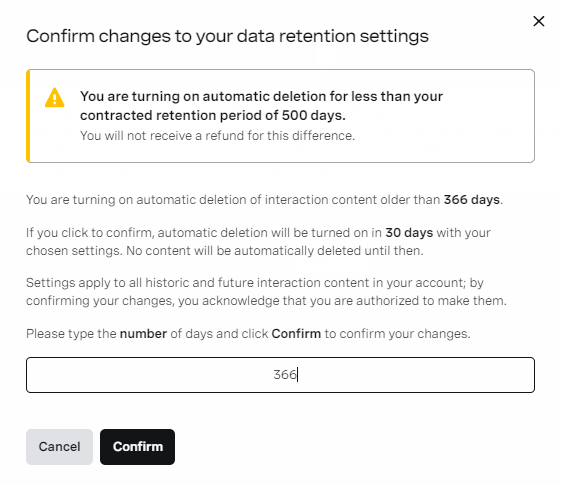
- Click Save. A confirmation dialog box appears.
- Type the number of days you wish to change your settings to into the confirmation field. The number must be the same as in the Automatically delete content older than field, otherwise VCC displays an error message.
- Click Confirm to confirm changes to your data retention settings.
- A message confirming changes to your settings appears. Automatic deletion is Pending and will remain in this state for 30 days. For information about automatic deletion states, see Automatic deletion states in Overview of Data Retention. Your name and the current date and time appear in Last update.
...