For more information about groups, see User Admin.Insert excerpt _ExcerptWhatAreGroups _ExcerptWhatAreGroups nopanel true
In the User Admin area of the VCC Admin Portal, you can configure groups in the account you are logged in to.
| Panel | ||||||||||||||
|---|---|---|---|---|---|---|---|---|---|---|---|---|---|---|
| ||||||||||||||
|
How do I navigate groups?
The groups tab in User Admin supports URL navigation. You can directly navigate to the groups tab or bookmark your most frequently changing group.
To open the groups tab, use following pattern: https://***.newvoicemedia.com/CallCentre/portal/useradmin/groups, where *** represents the subdomain for the region of your VCC account.
To open a specific group, add the group's ID at the end of the url. For example, https://***.newvoicemedia.com/CallCentre/portal/useradmin/groups/###, where *** represents the subdomain for the region of your VCC account, and ### represents the ID of the group you want to open.
How do I create a new group?
...
To create a new group in the account you are logged in to, perform the following steps:
- Go Go to User Admin, Groups tab. For information about accessing User Admin, see Accessing and finding your way around User Admin. User Admin appears.
- To add a create new group click Create New and click Group on the menu that appears.
, click Create group in the top right corner. If the button is unavailable, you don't have permission to create new group.
- A new group appears. Provide the following information:
As you enter information into fields, an undo icon appears alongside those fields. Click the icon to clear the field.Insert excerpt _ExcerptCreateEditGroup _ExcerptCreateEditGroup nopanel true
If you leave a mandatory field empty or enter a value that is not valid, an information icon error message appears. Click the icon to see the message. The number of errors appears alongside Create. You cannot click Create until you have corrected all the errors.
Change the data accordingly. You cannot save the group until you correct all errors. When you have provided valid information in all mandatory fields, click Create. Your new group is created. Alternatively click Cancel to cancel creating this new group.
| Info |
|---|
As an admin and supervisor user, after creating a new group you will automatically be granted write access to it; you will be able to see it and manage this group. As a supervisor user, after creating a new group you will not have an access to this group. You need have either Read or Write permission for this group. For information about supervisor user permissions, see Supervisor permissions in User Admin. |
How do I view an existing group's details?
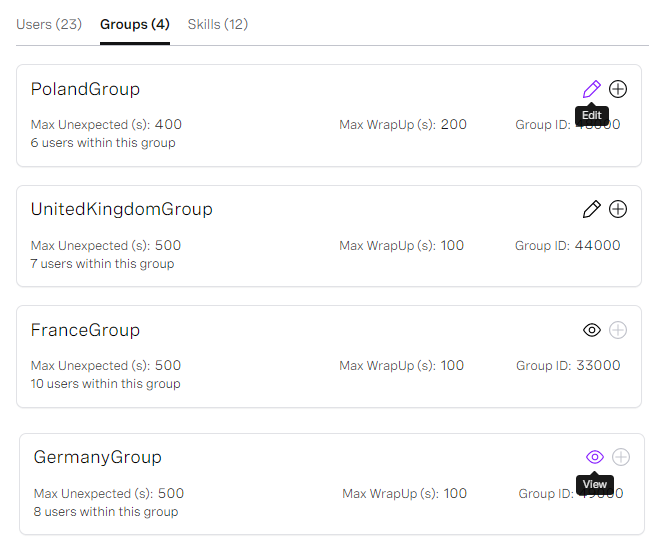
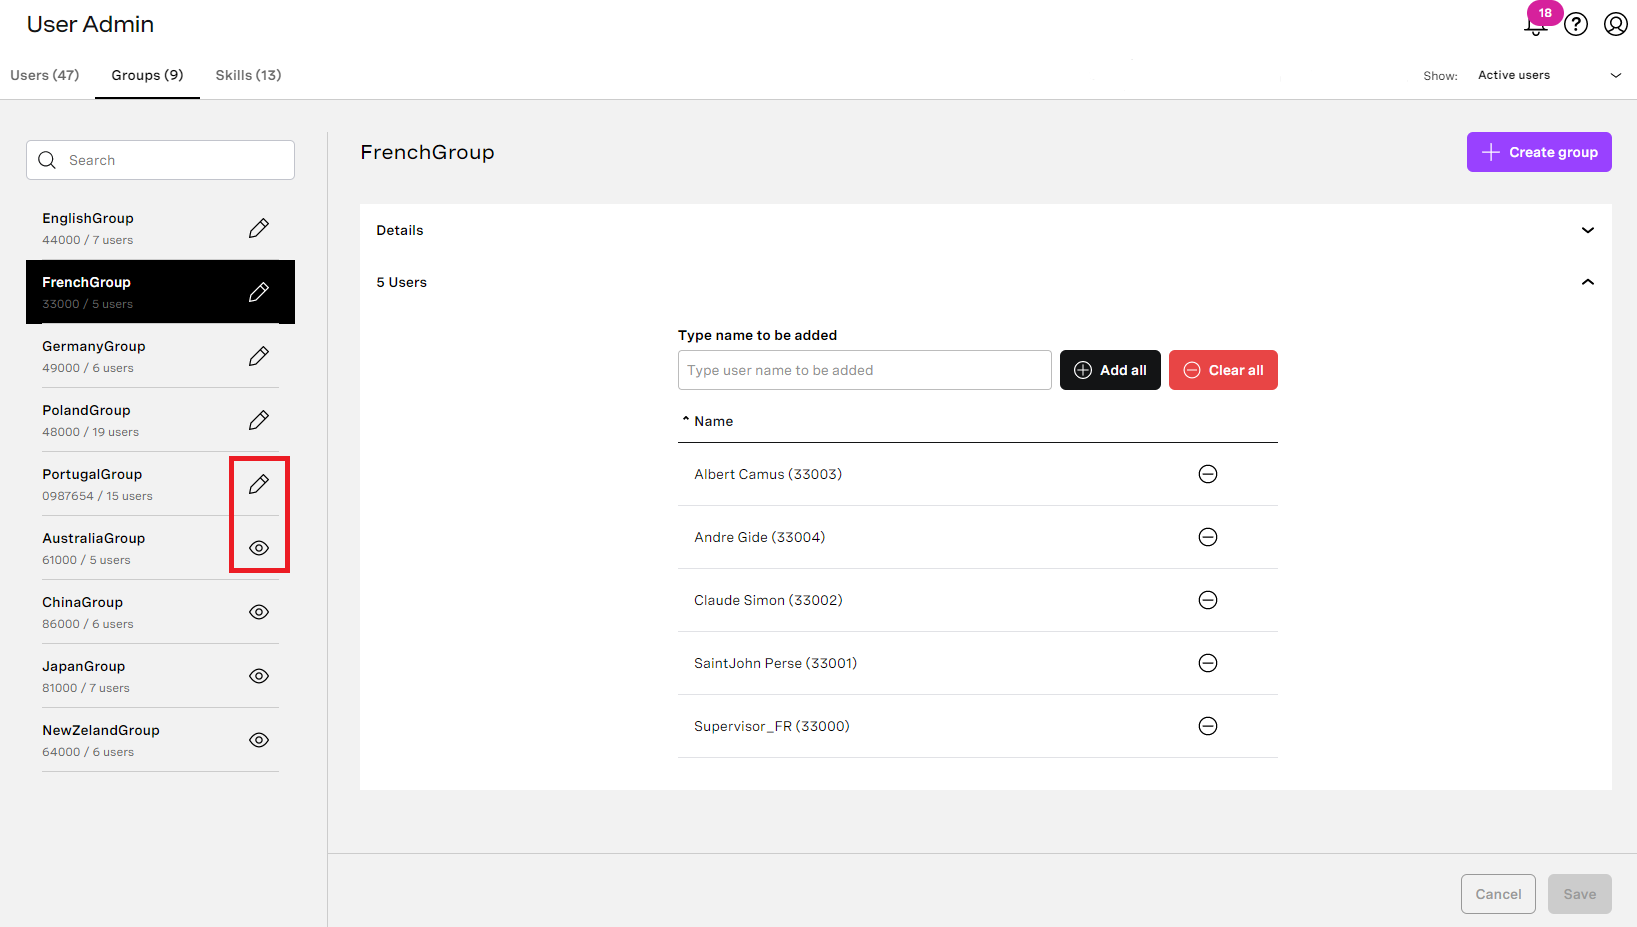
When you first access User Admin, a list of users appears. Click the Groups tab to switch to Go to Groups tab in User Admin area to see a list of groups in the account you are logged in to. From this list you can see each group's name and ID and the maximum times a user can remain in an Unexpected, Fault or No Answer state. The . The number of users in the group also appears. If you have Write permission to this group, you can also add all users assigned to this group to Bulk actions. To do so, click the + icon. To edit the group you need to have the Manage Routing Setting permission. The icon on the right indicates whether you can edit (pencil icon) or view (eye icon) listed group.
| Info |
|---|
As an admin user you can see and edit all groups available in the VCC account you are logged in to. As a supervisor user you can see or edit only those groups for which you have Read or Write permissions. You will not see groups for which you do not have permission. For information about Supervisor user permissions, see Supervisor permissions in User Admin. |
How do I edit an existing group?
To edit a group, you need the Manage Routing Settings permission. For information about account permissions, see Editing linked account permissions.
To update edit an existing group in the account you are logged in to, perform the following steps:
- Go to User Admin, Groups tab. For information about accessing User Admin, see Accessing and finding your way around User Admin. User Admin appears.
- Click the Groups tab. A list of groups in your account appears. Locate the group you want to edit using search or by scrolling the list.
Insert excerpt _ExcerptUserAdminViewEditGroupPermission _ExcerptUserAdminViewEditGroupPermission nopanel true - When you find Click on the group you want to edit, click Edit. The group's details appear.
- Update the information in the fields as required.
As you change the information in the fields, an undo icon appears alongside those fields. Click the icon to revert the contents of the field to the saved version.Insert excerpt _ExcerptCreateEditGroup _ExcerptCreateEditGroup nopanel true
If you leave a mandatory field empty or enter a value that is not valid, an information icon appears. Click the icon to see the message. The error message appears. The number of errors appears alongside UpdateSave. You cannot click Update Save until you have corrected all the errors. - When you have finished making changes, click UpdateSave. Your changes are saved. Alternatively click Cancel to undo all your changes.
...
- To add an individual user to a group in the account you are logged in to, edit the user and click Add to group in the Groups section in Routing Settings. For information about editing a user, see Configuring individual users.
- To add multiple users to a group, use the bulk actions box. For information about adding multiple users to a group, see Configuring multiple users (using bulk actions).
...
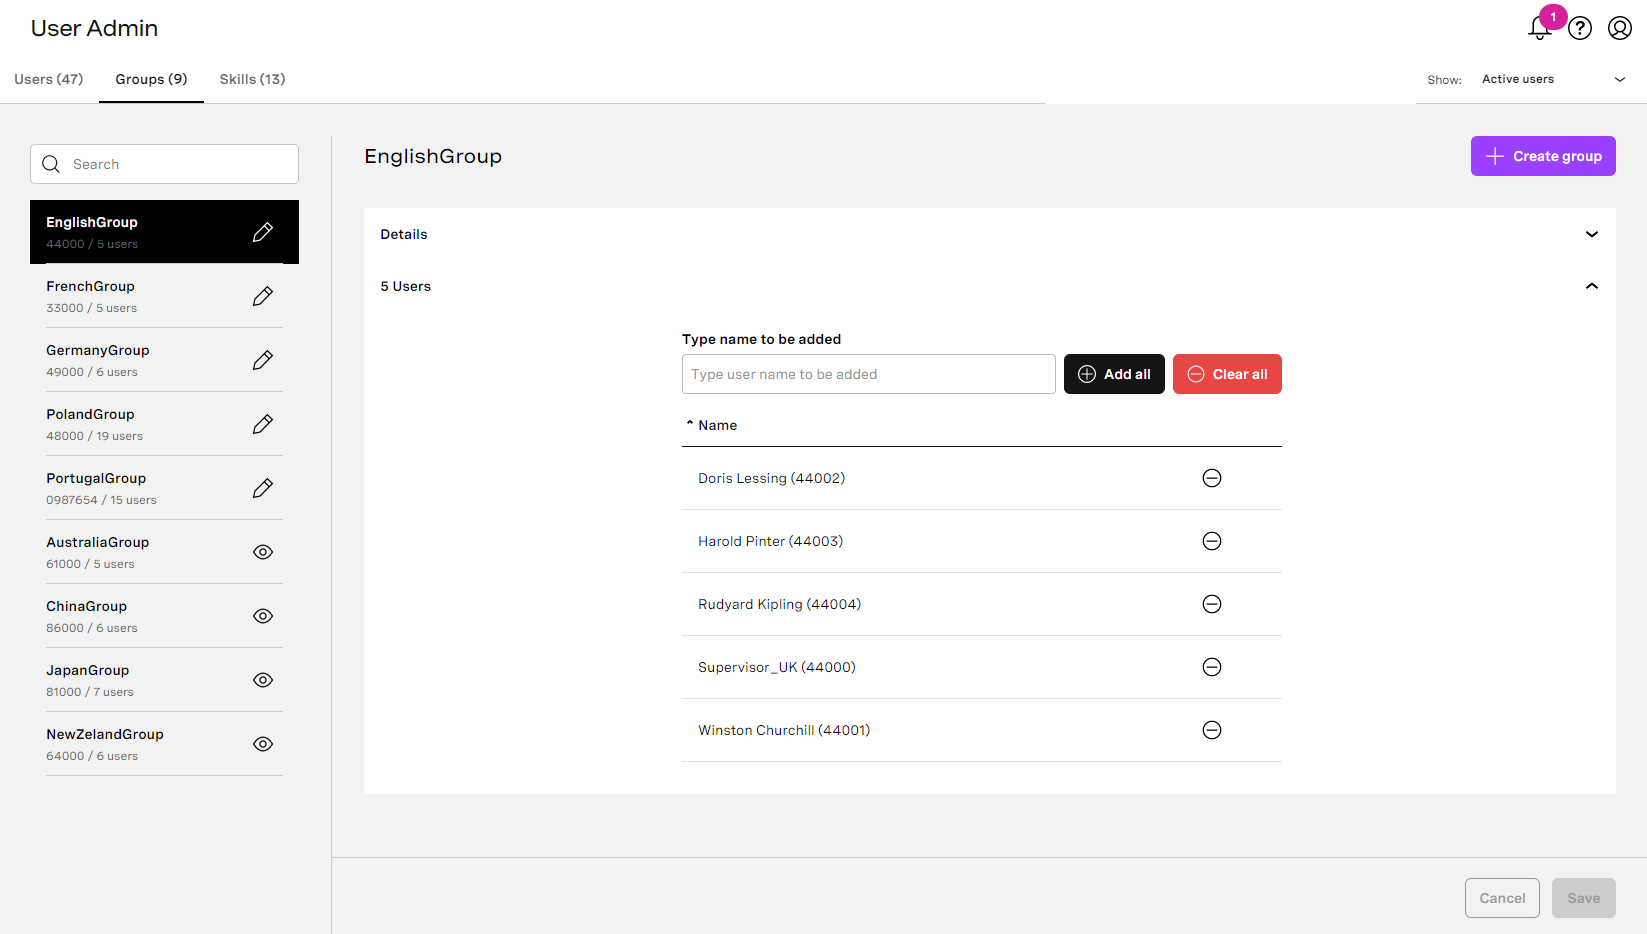
To remove one or more users from a group, perform the following steps:
- Go to User Admin, Groups tab. For information about accessing User Admin, see Accessing and finding your way around User Admin. User Admin appears.
- Click the Groups tab. A list of groups in your account appears. Locate the group you want to edit using search or by scrolling the list.
Insert excerpt _ExcerptUserAdminViewEditGroupPermission _ExcerptUserAdminViewEditGroupPermission nopanel true - When you find Click on the group you want to edit, click Edit. The The group's details appear.
- Click to expand the User list.
- Click - In the Users section, click the minus icon (-) next to the name of the user you wish to remove from the group. Click Clear all to remove all users from the group.
- Click Update Save to save your changes.
How do I delete an existing group?
...
| Info |
|---|
Only admin users can delete groups. |
To remove the groupdelete a group in the account you are logged in to, perform the following steps:
- Go to User Admin, Groups tab. For information about accessing User Admin, see Accessing and finding your way around User Admin. User Admin appears.
- Click the Groups tab. A list of groups in your account appears. Locate the group you want to delete using search or by scrolling the list.
Insert excerpt _ExcerptUserAdminViewEditGroupPermission _ExcerptUserAdminViewEditGroupPermission nopanel true - When you find Click the group you want to delete, click Edit. The group's details appear.
- Click Delete group. A dialog box appears.
- Click Confirm Delete to delete the group. Alternatively click Cancel to cancel deleting the group.